While many training sites have considerably raised their prices. We offer the best value for your money not to mention package discounts. We believe everyone should be able to afford to learn a new trade. Not to mention, our workshops allow you to work with regional stone...a bonus!
~ 03/28/2024 (Thursday) Shaping Workshop 1 day $300-
See Workshop Page for availability
• Stone Shaping / Stone Dressing Workshop, All Levels, Homeowner - Contractor, 1-Day, 8:30 am - 4:00 pm, All Levels, Homeowner -Contractor
This Workshop will help the participant look carefully at the stone before choosing it for a specific use. This helps increase productivity and the economy of effort.
• There are many ways in which we can mark stone, this will be described and demonstrated throughout the workshop.
• Which Hammer should I use? What is its purpose? When should I use it? Which one should I buy? All part of the workshop.
• Which Chisel should I use? What is its purpose? When should I use it? Which one should I buy? Again, all part of the workshop.
• Using Diamond Blade Saws and Diamond tipped Grinders, Do’s and Don'ts.
• Working on Banker Benches, design and ease of use and practicalities.
• Texturing Stone for a finished surface.
• Tips on Drilling Stone including Feather and Wedge...and so much more!
• Shaping workshop, Hand Tools, Power tools, feather wedging and so much more!
(Note: YOU MUST HAVE - PPE (Personal Protection Equipment) for this workshop. Safety and use of this equipment is of paramount importance during the workshop.)
~ 03/29/2024 (Friday) Fundamental Workshop 1 day $250- (This is not a workshop where you will be building a stone wall!)
~03/30-31/2024 (Saturday-Sunday) Freestanding Wall Workshop 2 day $475-
(YOU MUST HAVE EITHER DSWA/DSC LEVEL 1 / TAKEN PRIOR WORKSHOPS OR PROFESSIONAL MASONRY SKILLS - to sign up for this Cheekend workshop)
(Note: you must have your own PPE, along with tools for shaping and dressing stone)
(Note: you must have your own PPE, along with tools for shaping and dressing stone)
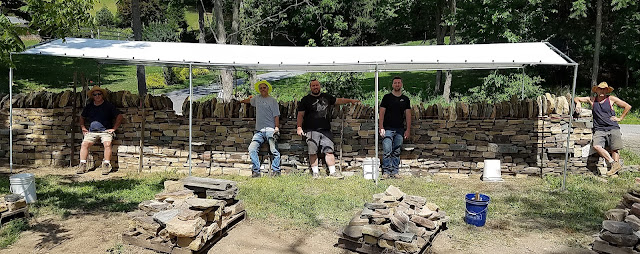
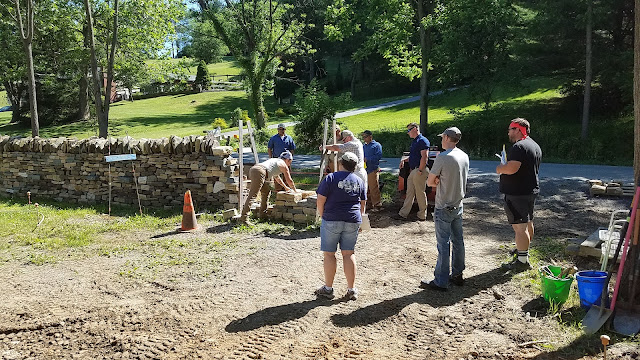
A cheekend / (wall head) is the most common way to end a wall. Cheekends are one of the most important first features to learn. This two day workshop will cover strip out, rebuild and the proper method to finish off the end of a wall. In this workshop you will be partnered up with one other person to take on a traditional freestanding wall cheekend. You will learn how to tie the end back into the wall along with understanding how to pick, choose and make the stones you need to make it right! This workshop will also cover the setting up of a wall frame. This workshop is great for those gearing up for their Level 2 DSWA Certification.
Combo Deals - Mix and Match
2 Workshops Deduct -$75
3 Workshops $925- (you $ave $100)
Limited spaces available
REFUND POLICY FOR WORKSHOPS
If Rockin Walls cancels a Workshop:
~ Full refund will be paid to all enrolled participants.
If a participant cancels Payment by check:
~ More than 21 days prior: 100% Refund.
~ 14-20 days prior: Full Refund less $25 cancellation fee.
~ 0-13 days prior: No Refund.
Check payable to:
Rockin Walls
3000 Rohrbaugh Road, Hampstead MD 21074
Your spot is secured if your check has cleared our bank account. We will not hold any spots without payment.